Getting started with Jenkins
Apr 3, 2021 · 6 min readJenkins is an automation application, that is heavily used for Continuous Integration (CI) and Continuous Deployment/Delivery (CD). This post is going to get Jenkins up and running, on your machine, and configuring a basic job. This can be handy if you are wanting to learn more about Jenkins, without using a hosted solution. It’s useful to be able to test Jenkins configurations in a disposable way. It’s not intended for this post to guide you on running a productionised Jenkins solution.
You will need Docker to complete this tutorial.
Running Jenkins locally with Docker
The easiest way to get Jenkins up and running, is via Docker. Let’s run the Long Term Support (lts) version with the following command:
docker run --rm -p 8080:8080 -v "${HOME}/.jenkins:/var/jenkins_home" jenkins/jenkins:lts
To break this command down, we are going to:
- Run the
jenkins/jenkins:ltsdocker image as a container. - We are going to remove the container once finished via the
--rmflag. - Map port
8080inside the running container, with port8080on our machine. This means we can access Jenkins onhttp://localhost:8080. - Share a folder called
~/.jenkinswith the Jenkins application folder/var/jenkins_homeinside the container.- This means we can reuse the folder when we stop and start Jenkins.
If you now browse to http://localhost:8080, you will be presented with this page:
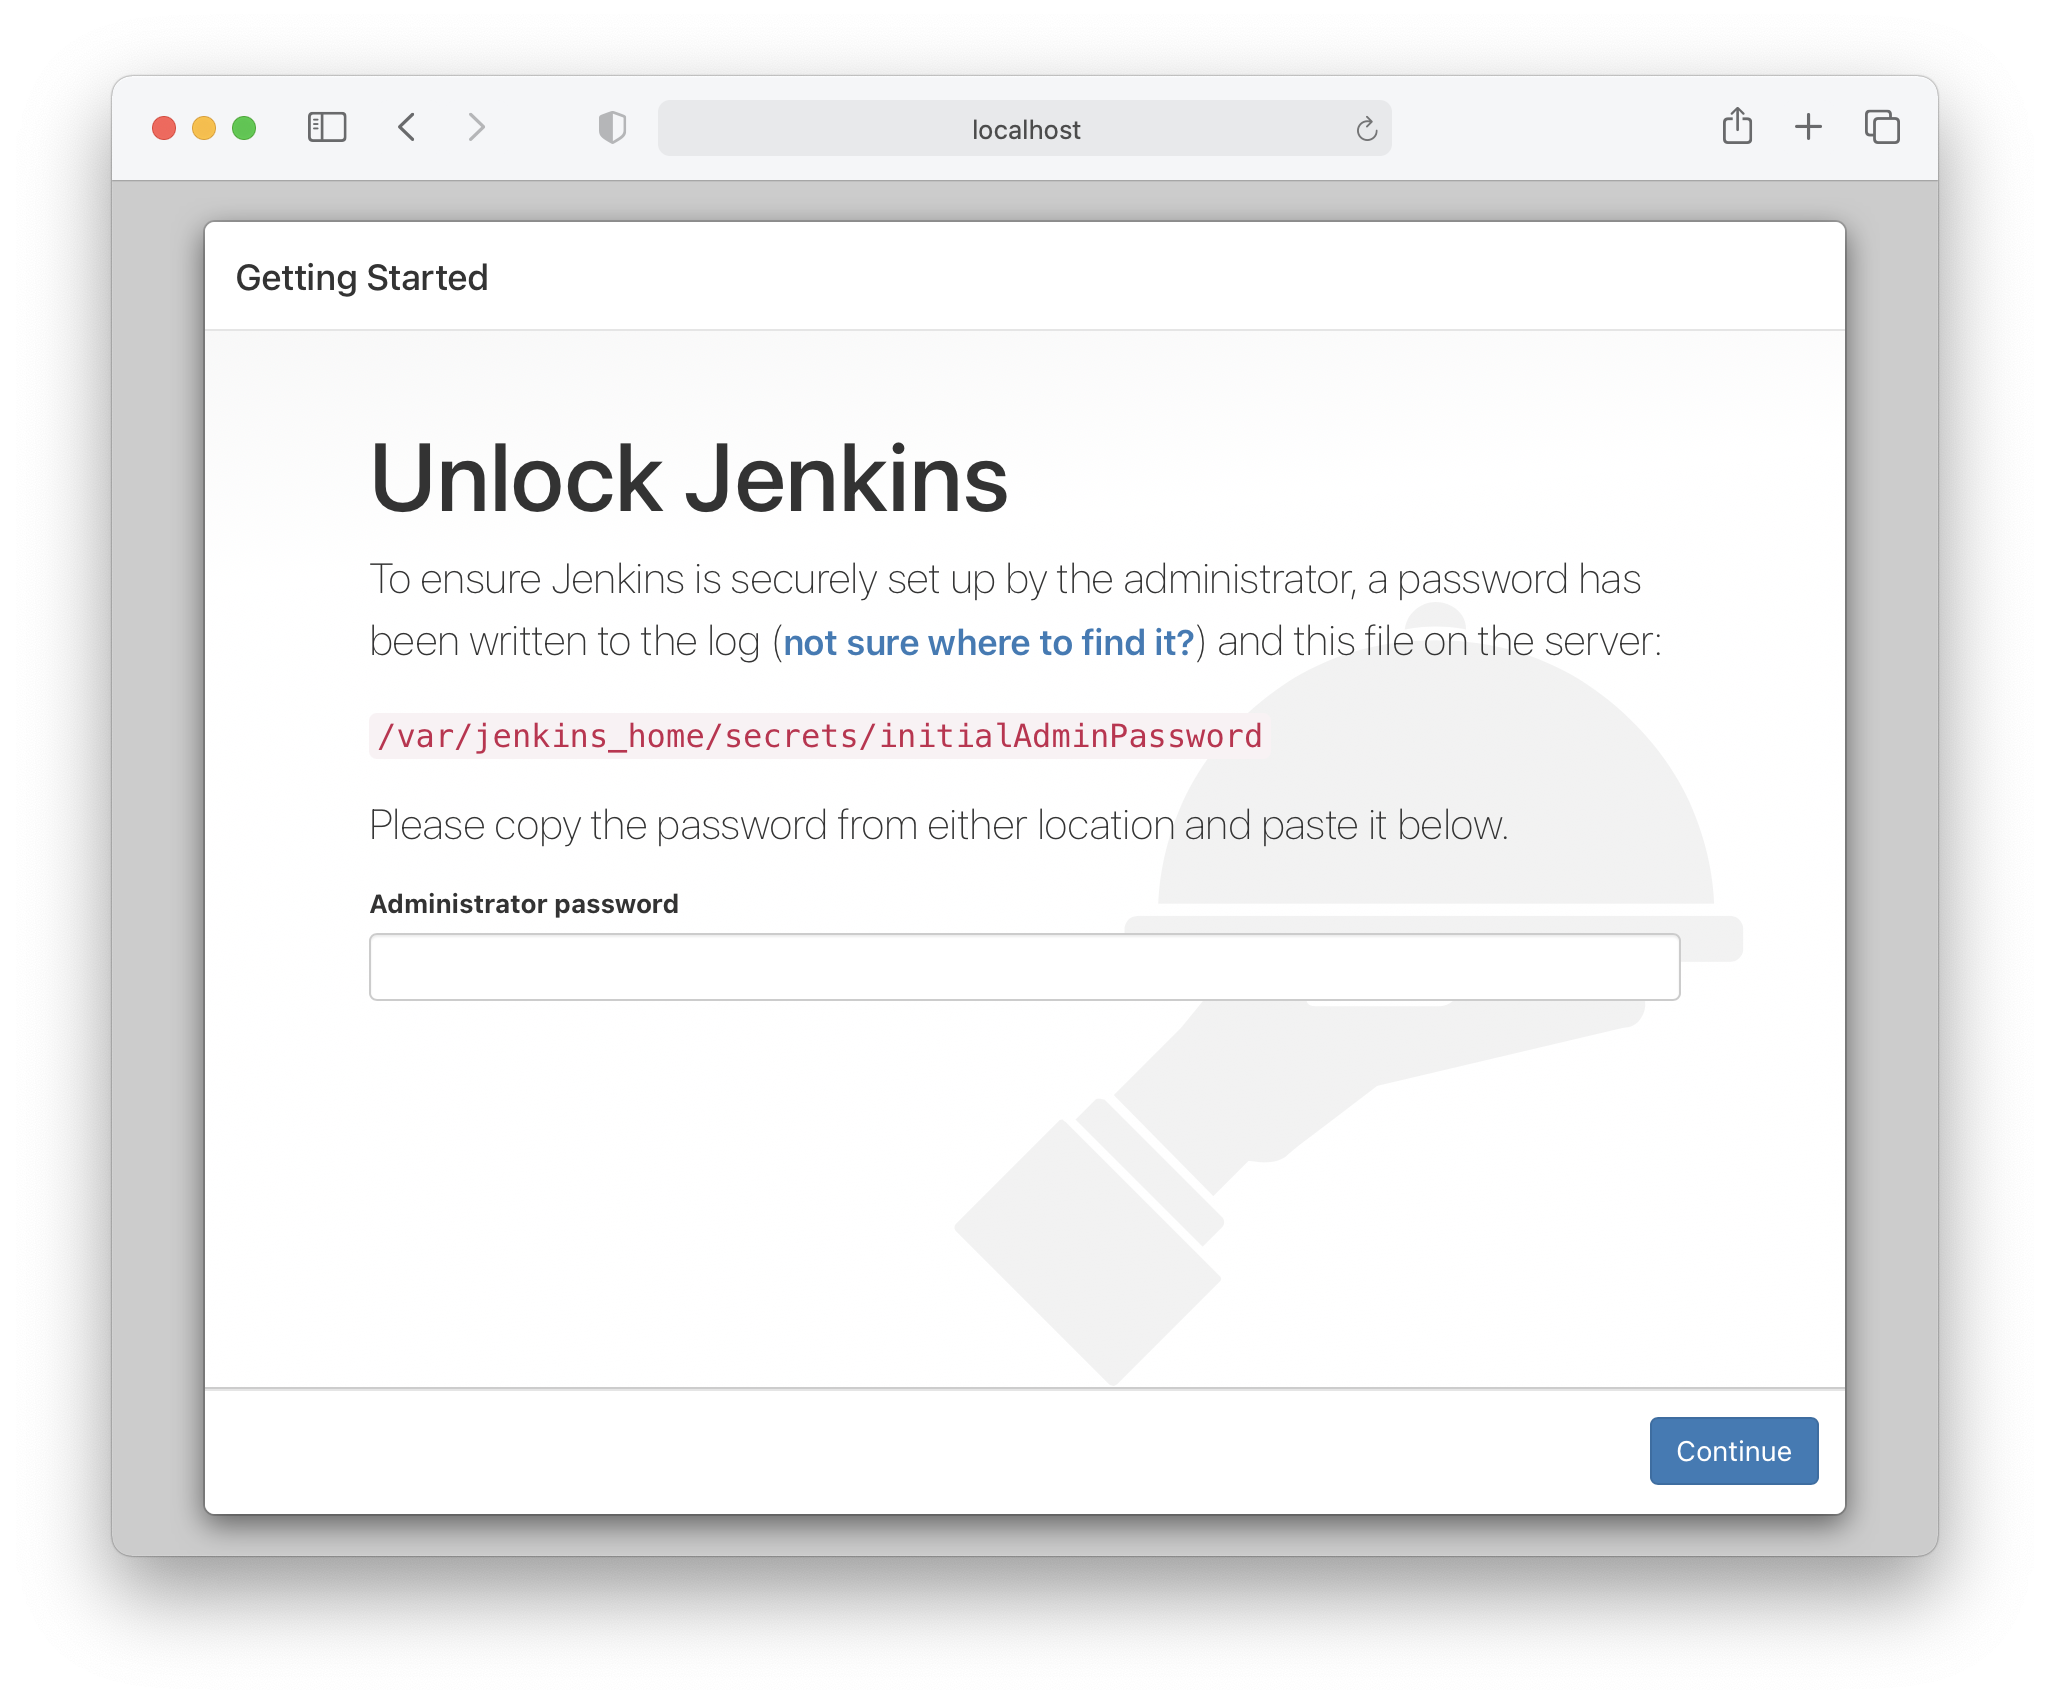
As you can see, we need a password. If you go back to where you are running the Docker command, you should see some terminal output. We are looking for the initial password, which will look something like this:
*************************************************************
*************************************************************
*************************************************************

Jenkins initial setup is required. An admin user has been created and a password generated.
Please use the following password to proceed to installation:

39dfegkae9f215288d4a1cb8d83716d9

This may also be found at: /var/jenkins_home/secrets/initialAdminPassword

*************************************************************
*************************************************************
*************************************************************
Go ahead and copy the password. Go back to your browser, and paste the password in. Once you have done that you are going to be presented with some options around plugins.
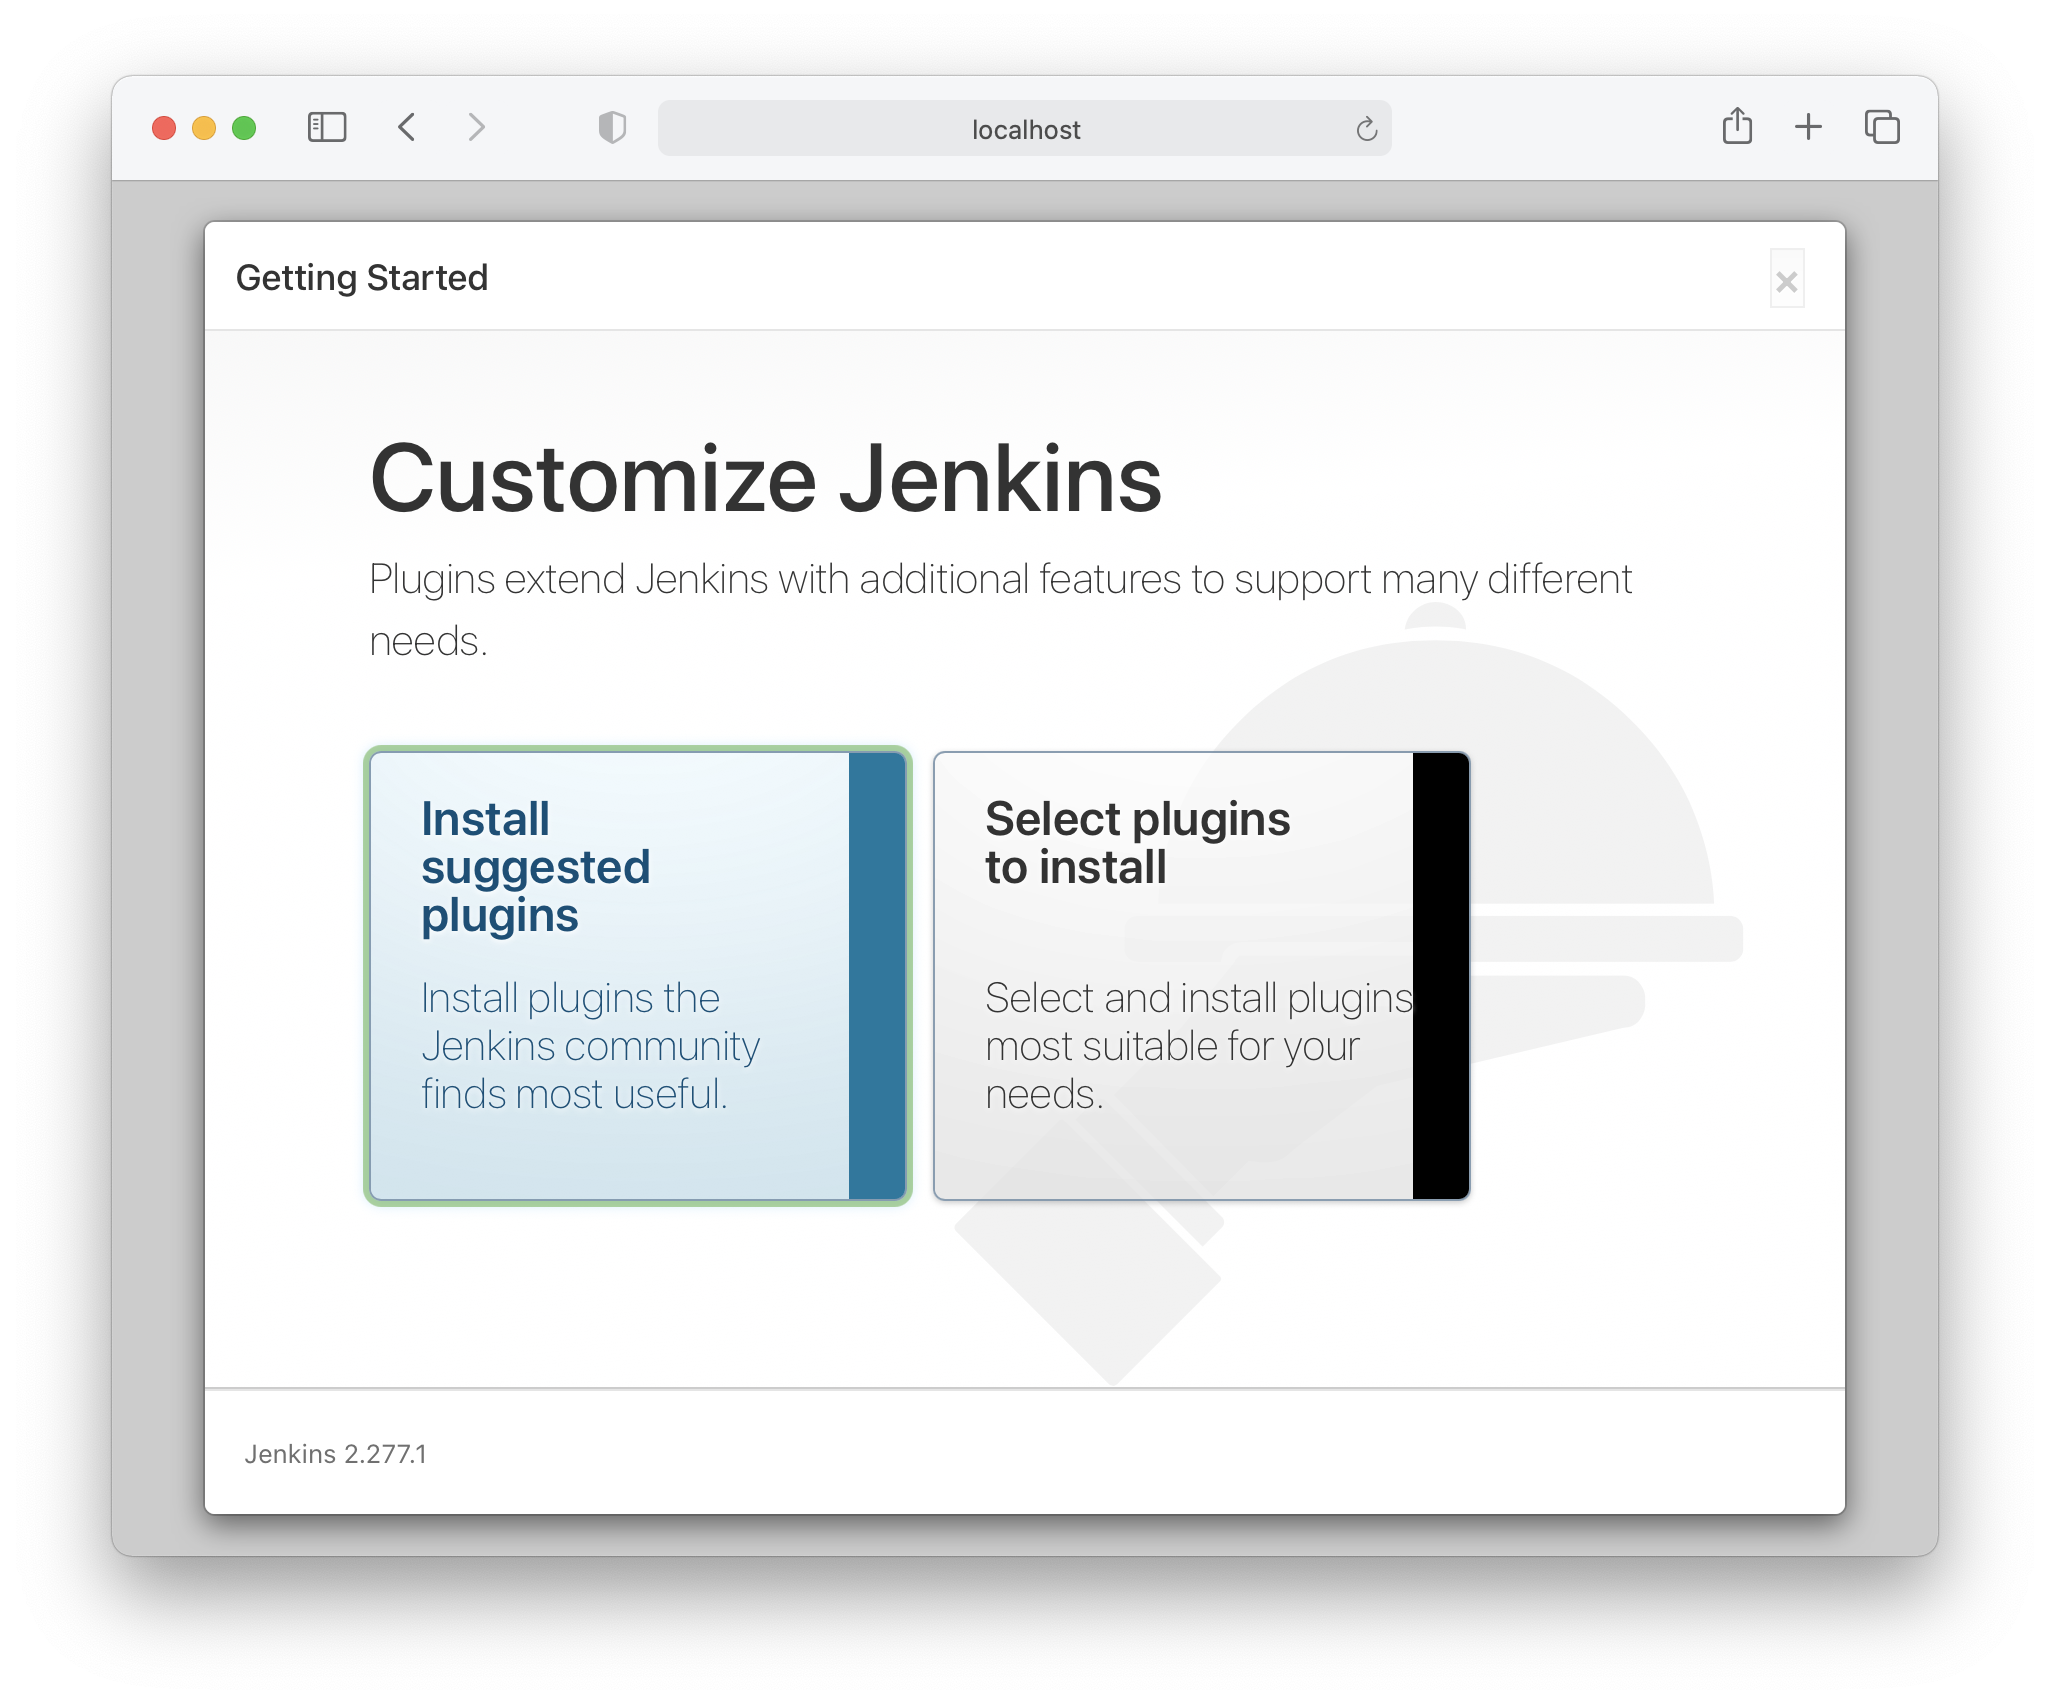
For now, please go ahead and select Install suggested plugins. In your own time, maybe play around with selecting your own, and see what happens. I’ve found that plugins are likely to depend on the languages, frameworks, and tools you are using.
The installation process will now install the suggested plugins. Once that is complete, it will ask you for the admin user details.
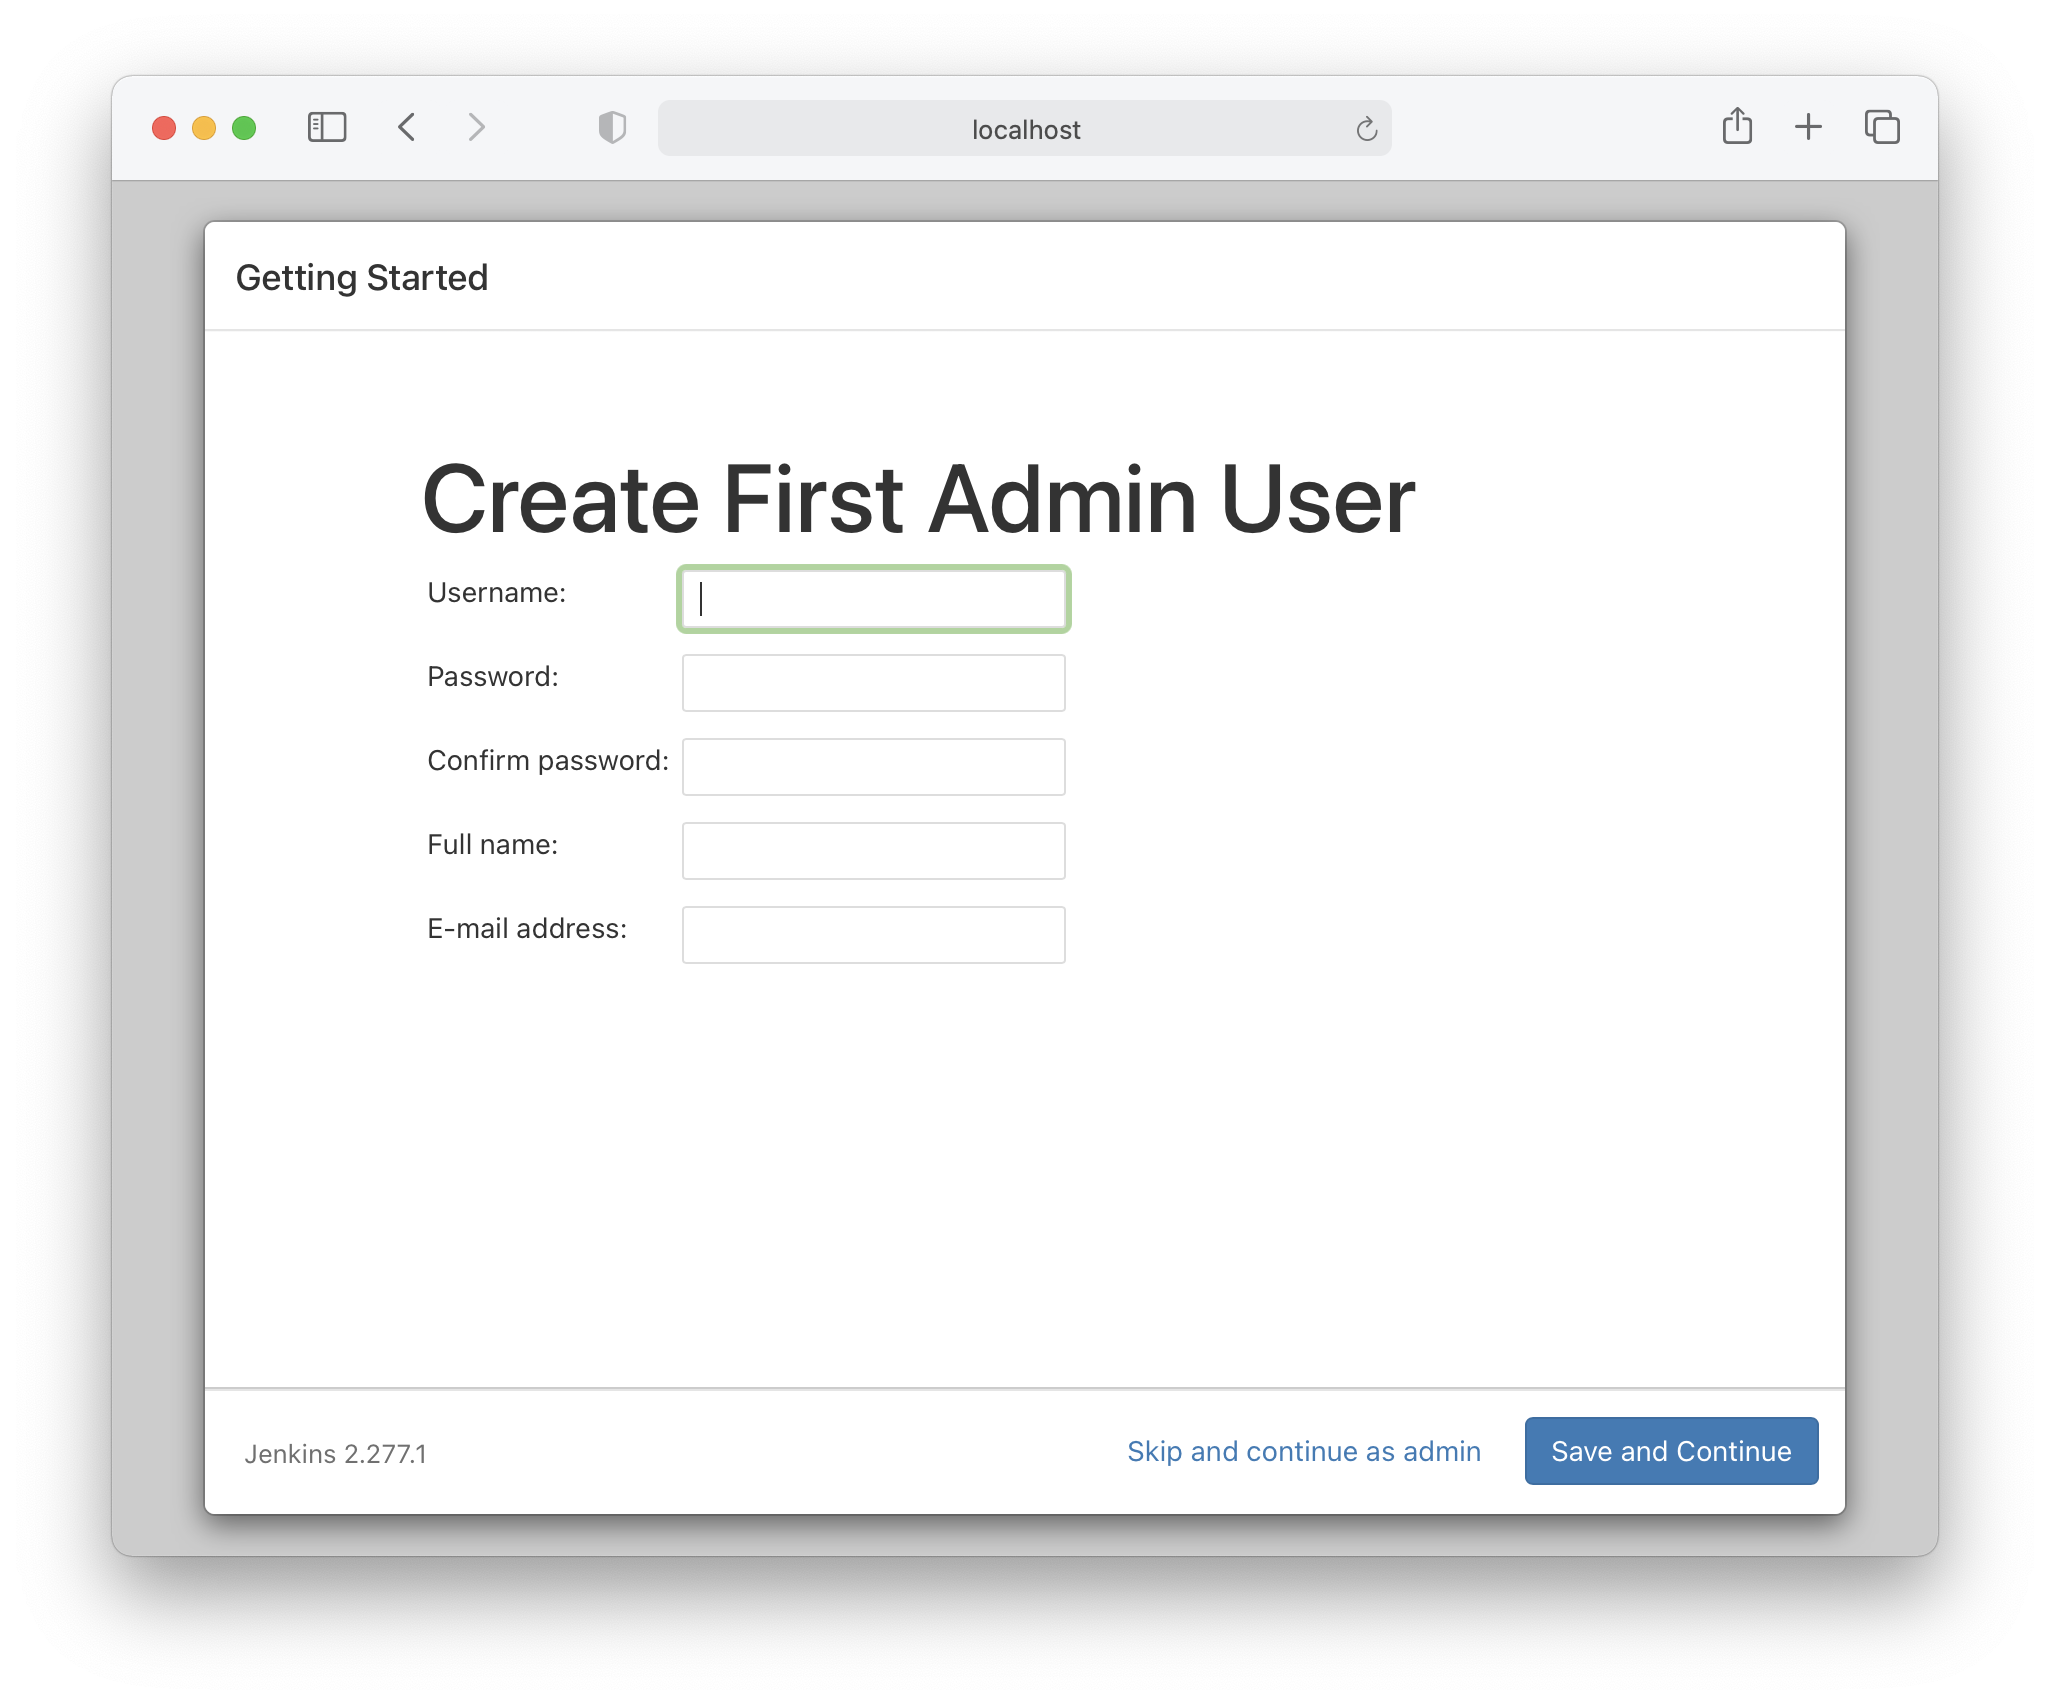
You can, if you want, click Skip and continue as admin. If you do this, you will need to remember the initial password. If you forget, you can get the initial password by running the following command on your host machine:
cat ~/.jenkins/secrets/initialAdminPassword
Readers choice.
The final installation screen confirms the URL that will be used to access the Jenkins instance.
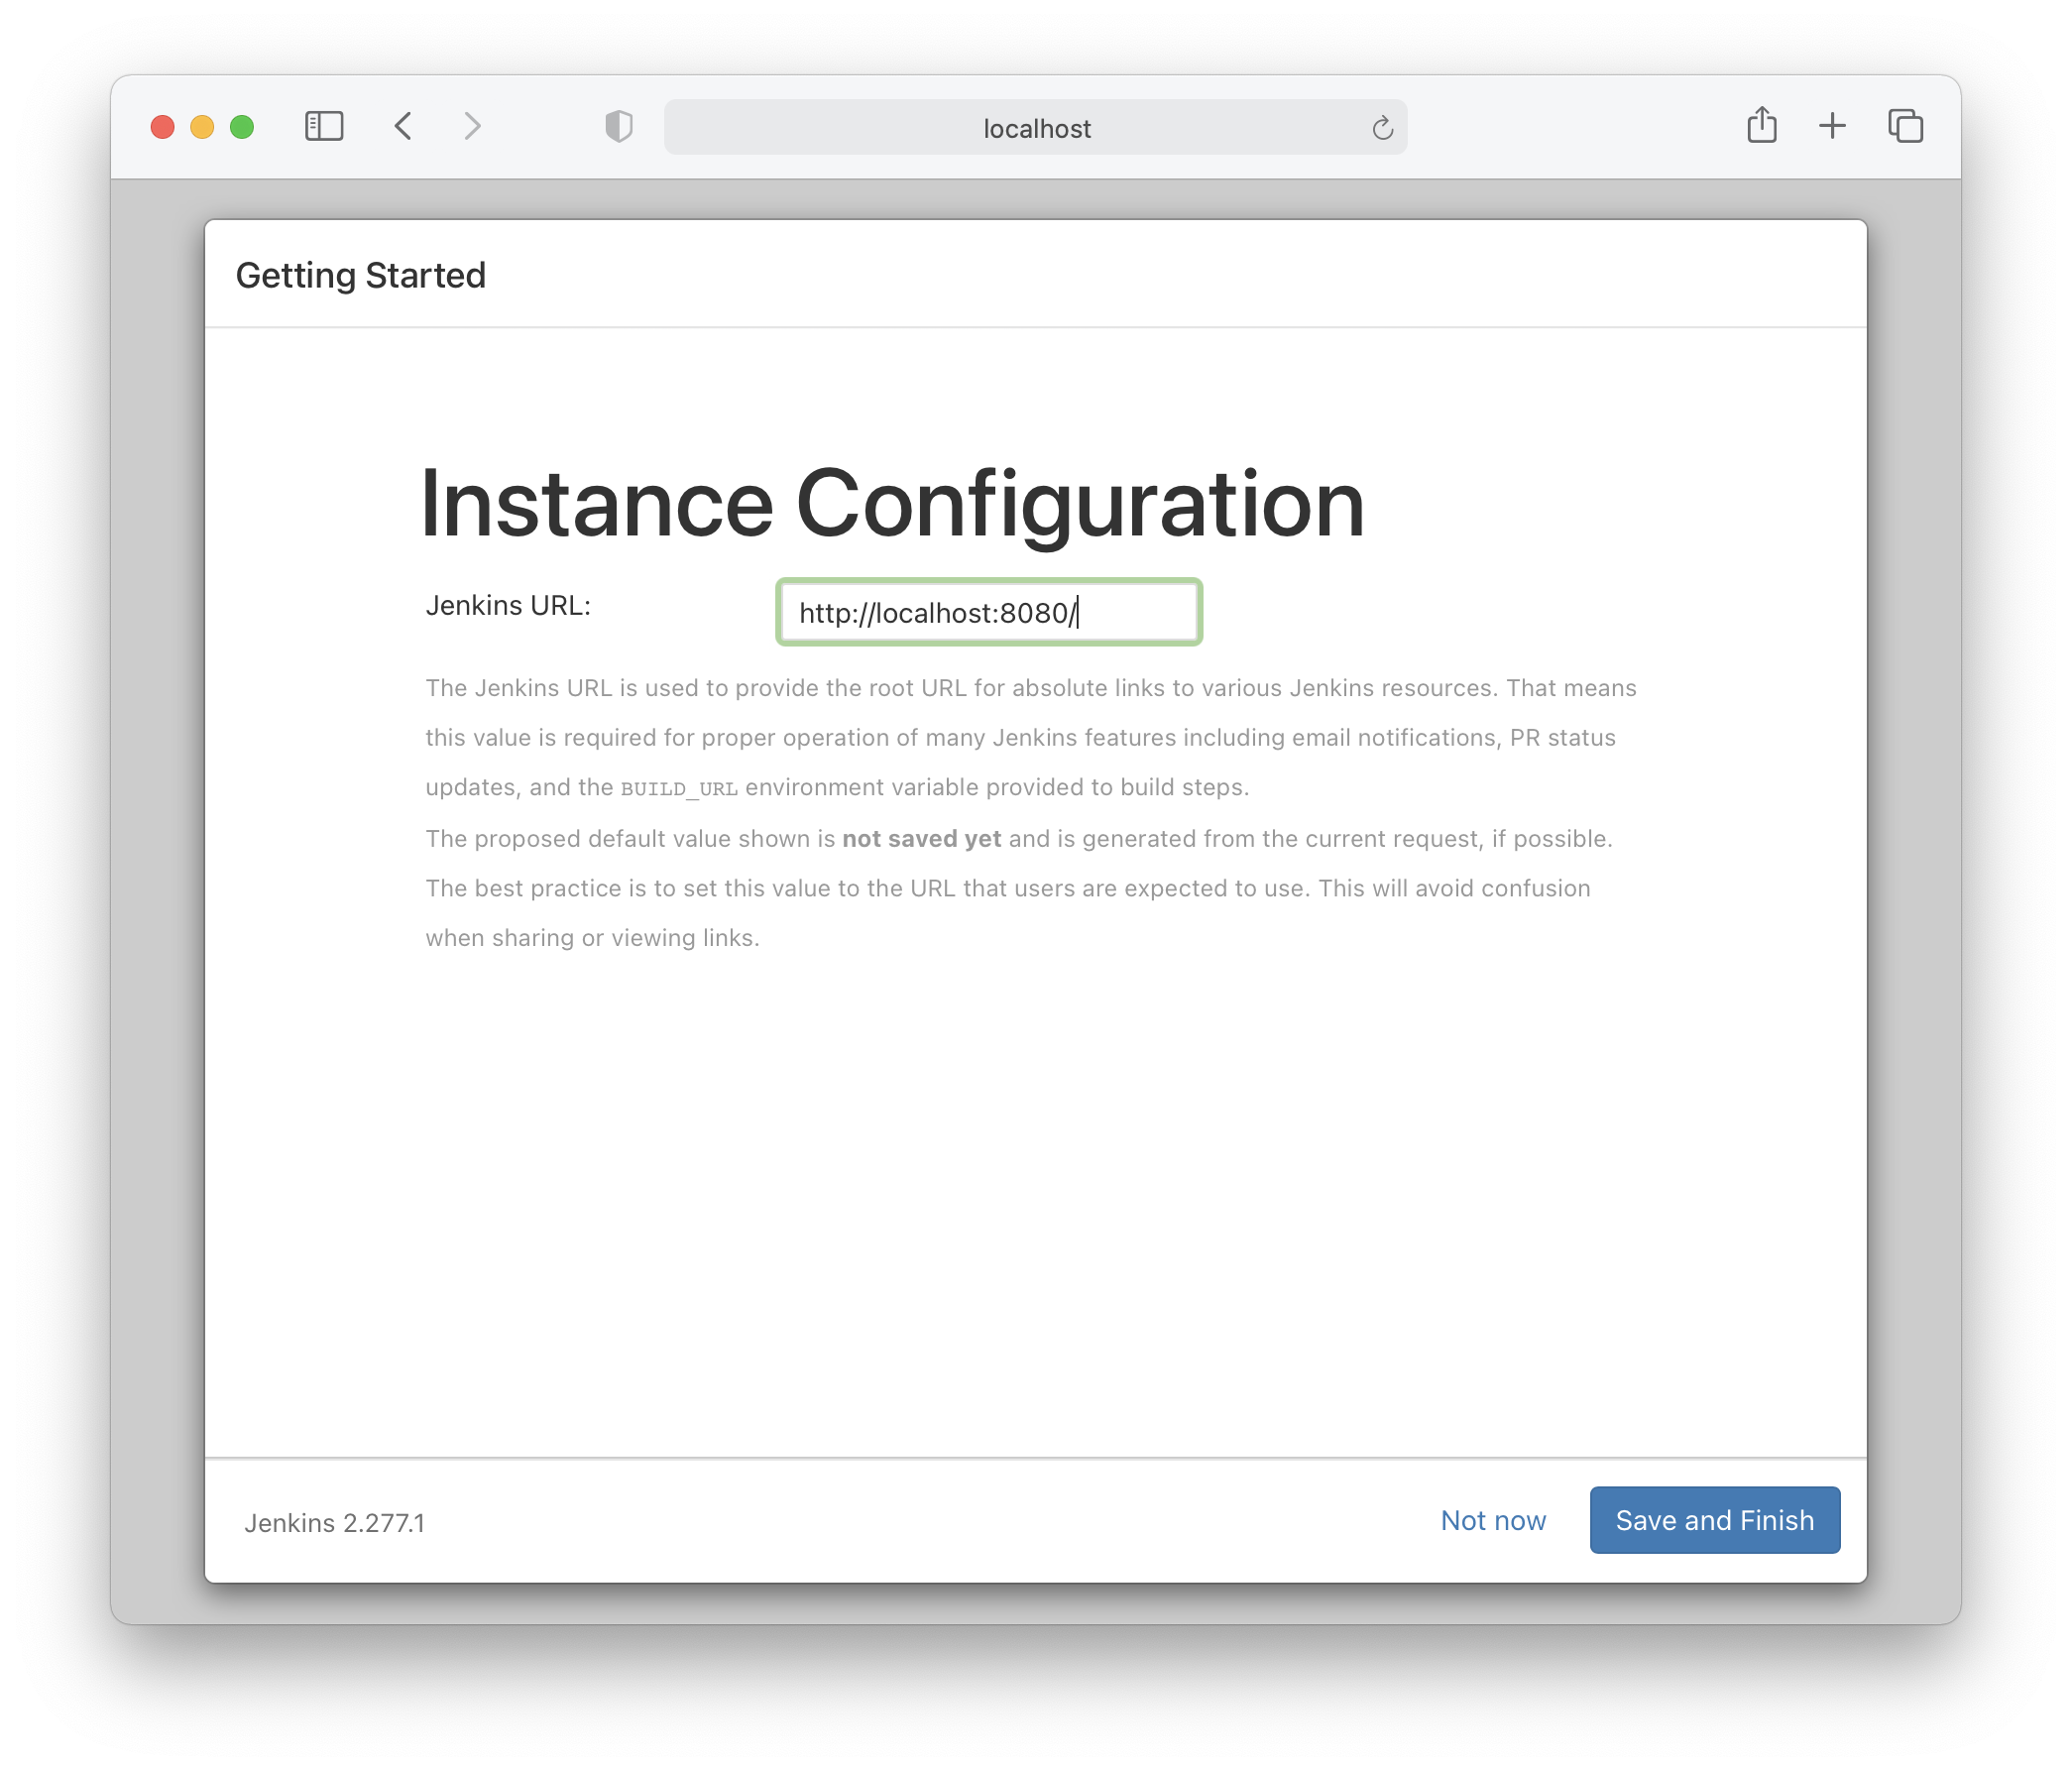
Click Save and Finish.
Managing Jenkins
You now have an instance of Jenkins running locally.
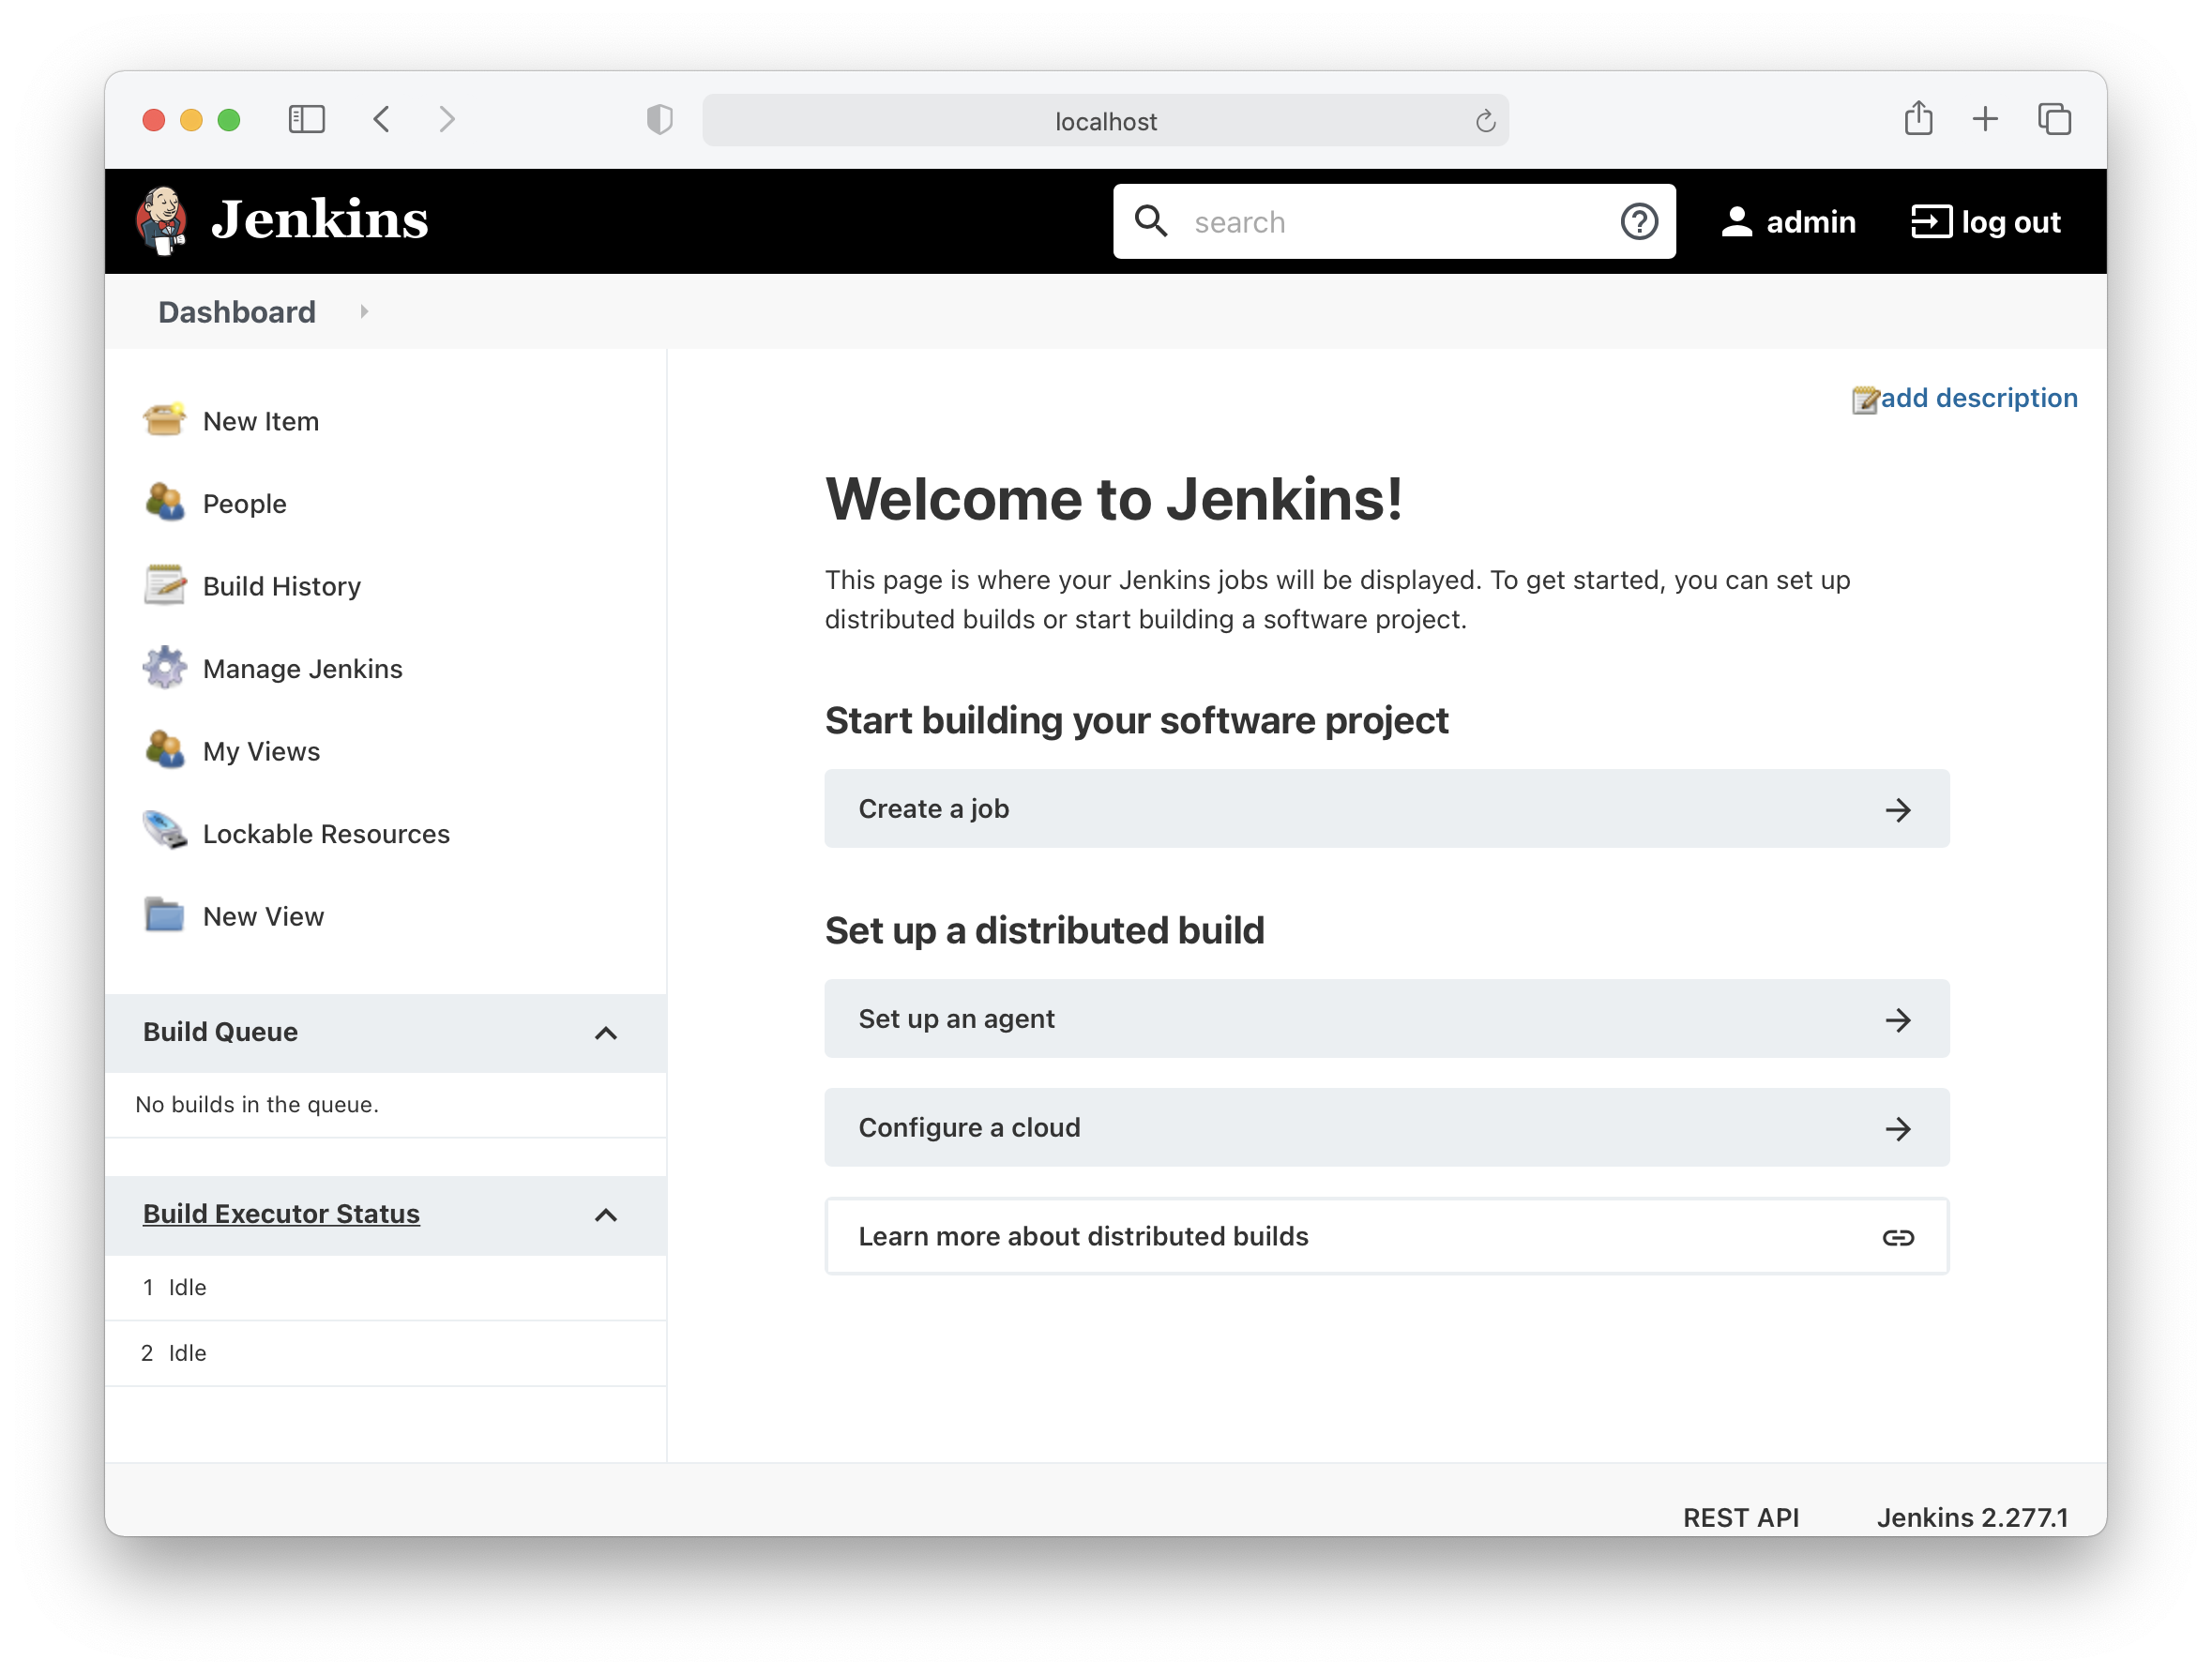
Managing Jenkins, can be a post all by itself, which I’m hoping to write up soon. For now, click on Manage Jenkins on the left hand side. Peruse over the options you can see. Note you can install plugins from this page.
In your own time, you can review what the different options give you.
Configuring your first job
Let’s delve into creating our first job. Just to make sure we are on the same page, click the Jenkins logo on the top left. This should bring us all back to the home page.
Let’s create a Freestyle job that runs echo "Hello World".
Click on New Item on the top left of the screen. Call the item “hello-world”, and select Freestyle project. Then click OK.
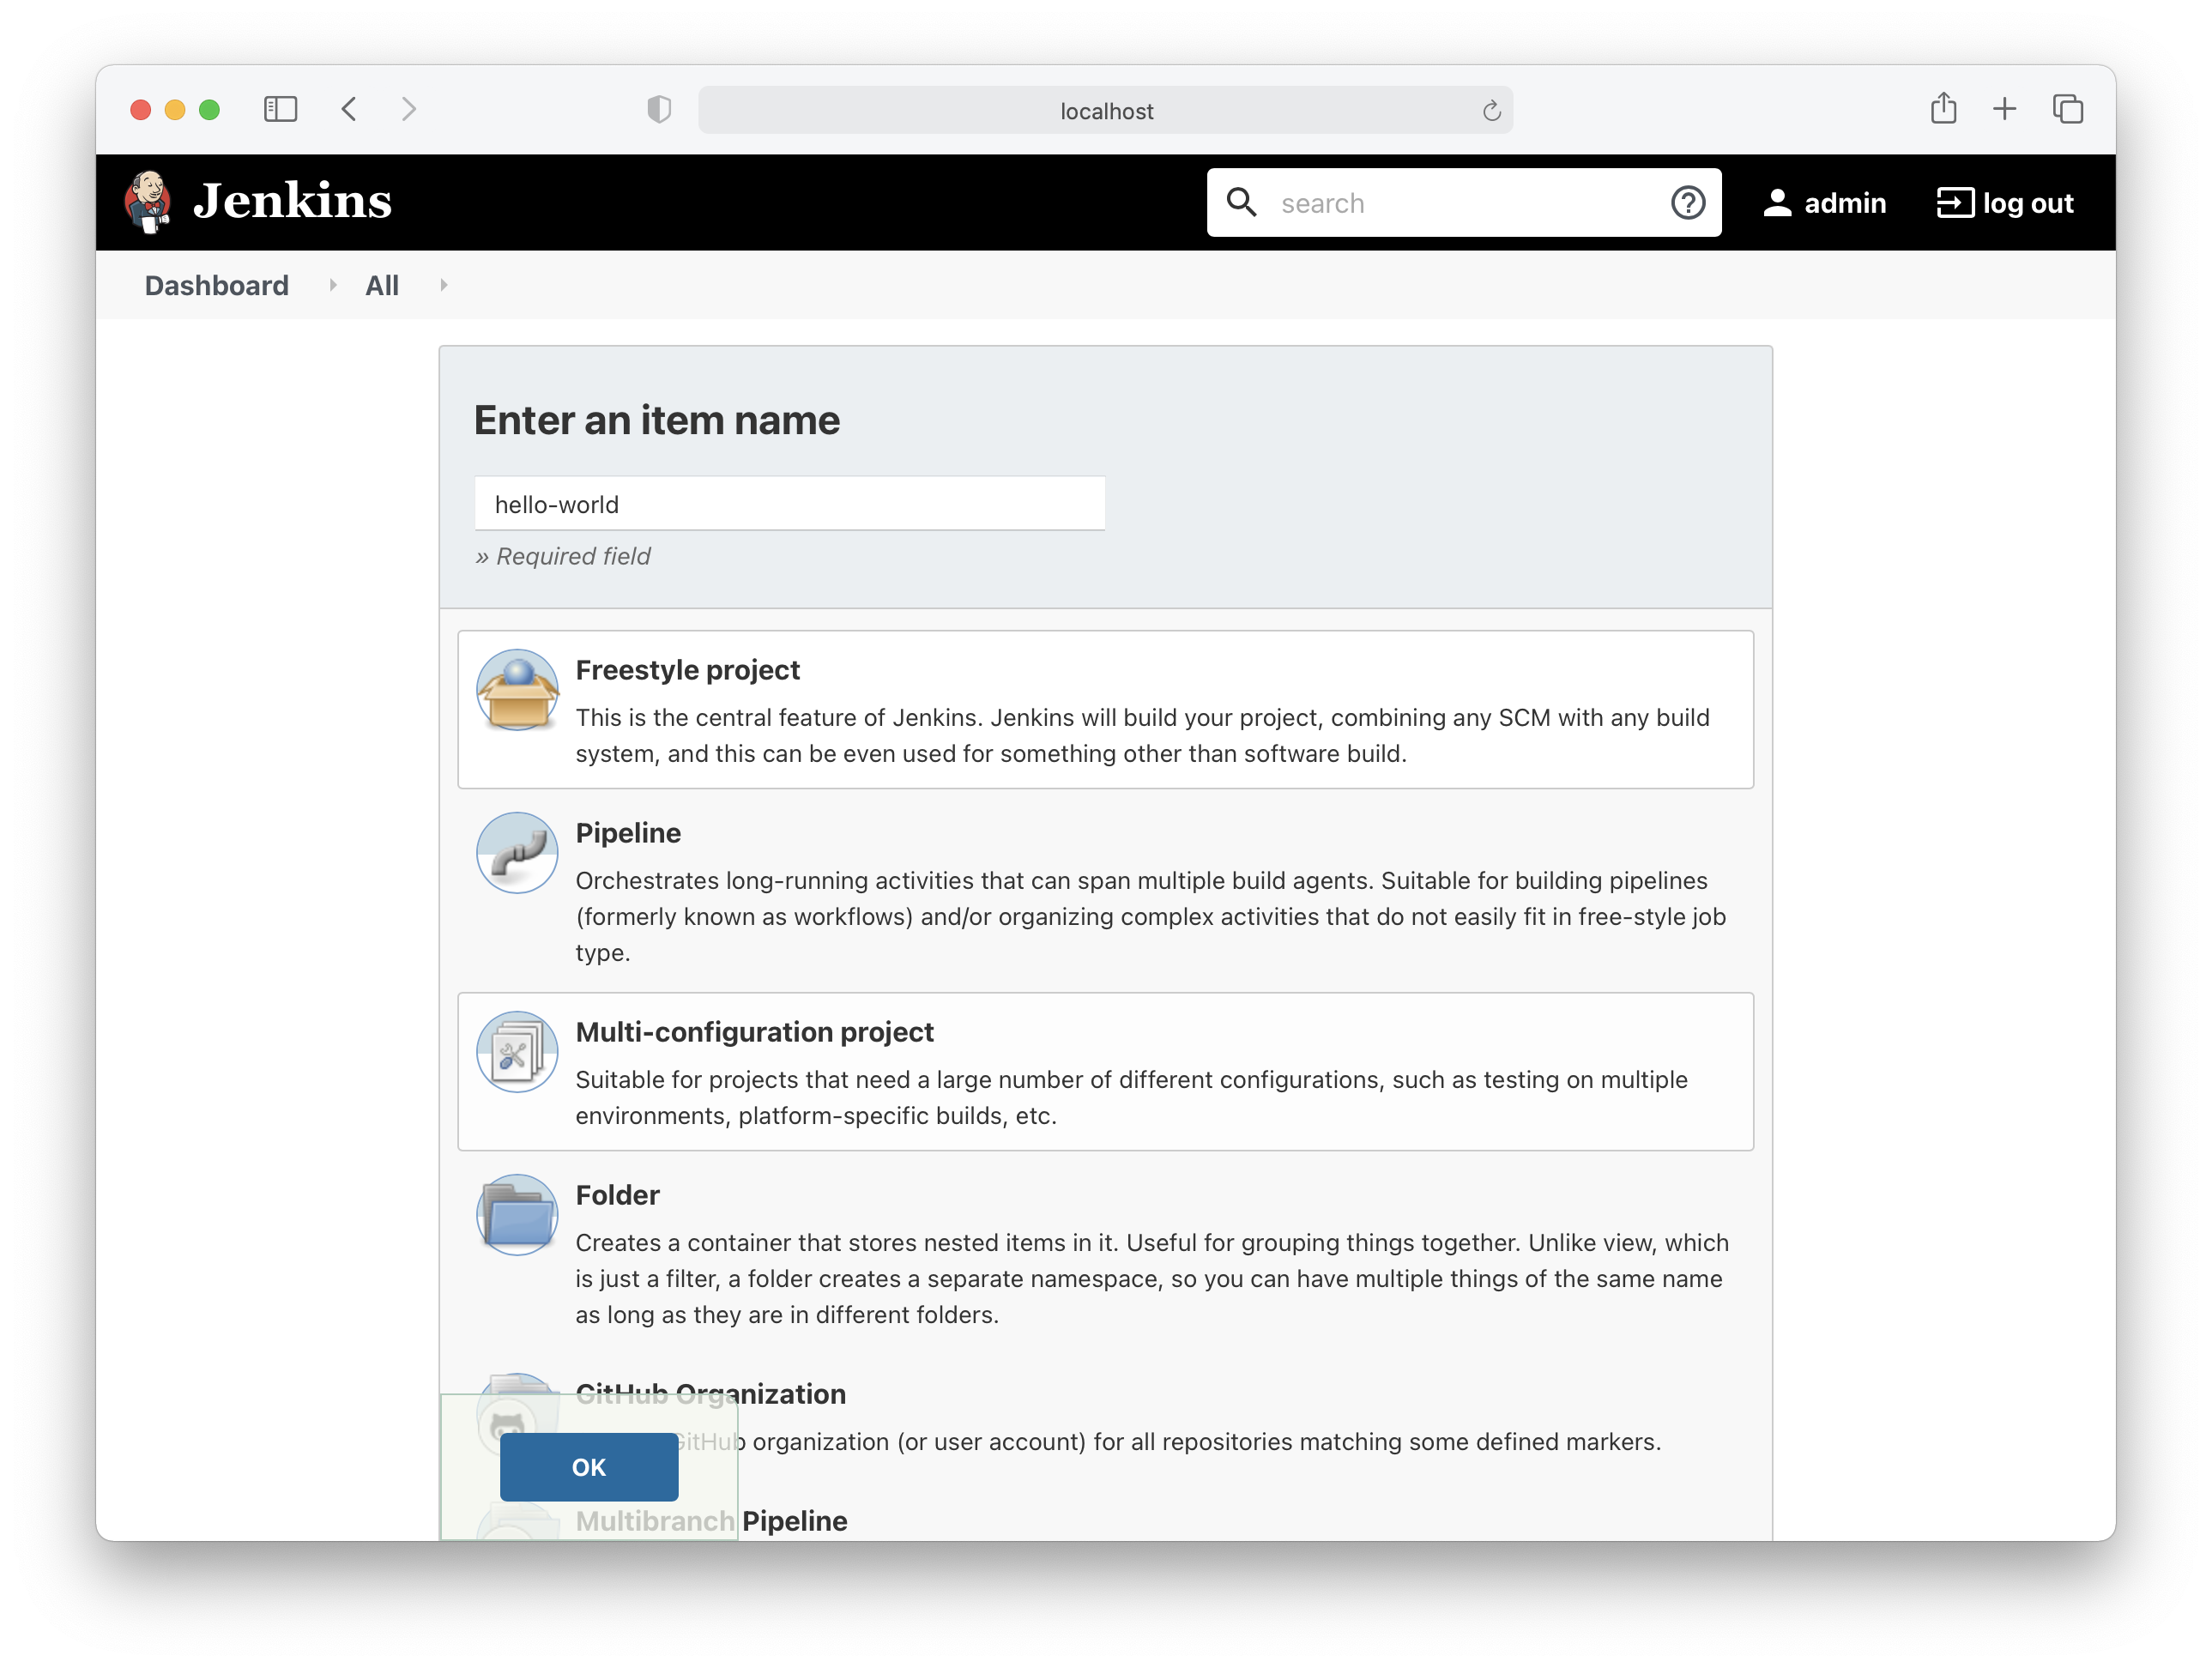
This will now take us to a screen to configure the job.
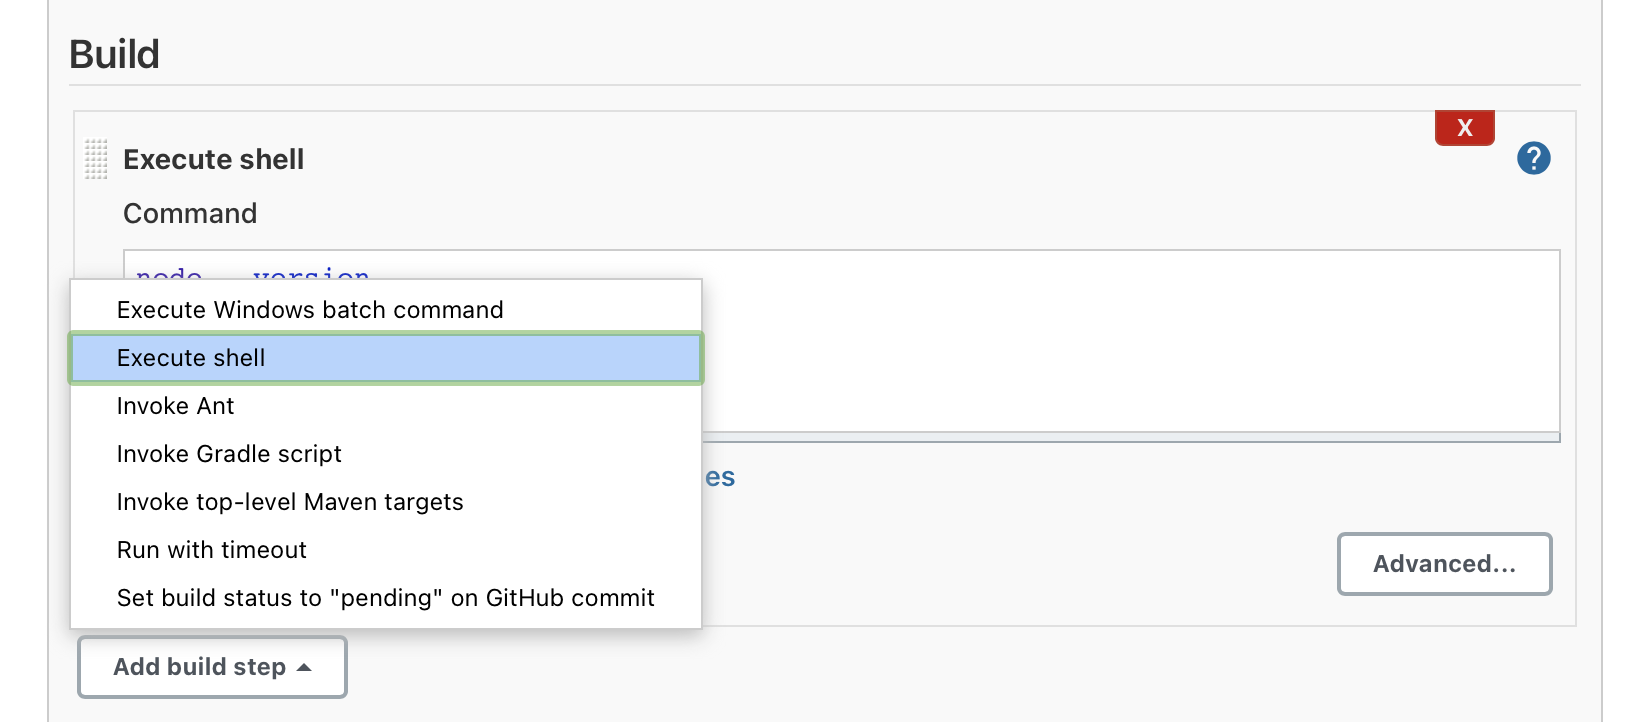
We will leave everything as default, except the the Build section. Scroll down to the Build section. Click on the Add Build Step drop down, and select Execute shell.
This will present us with a text box we can enter echo "Hello World".
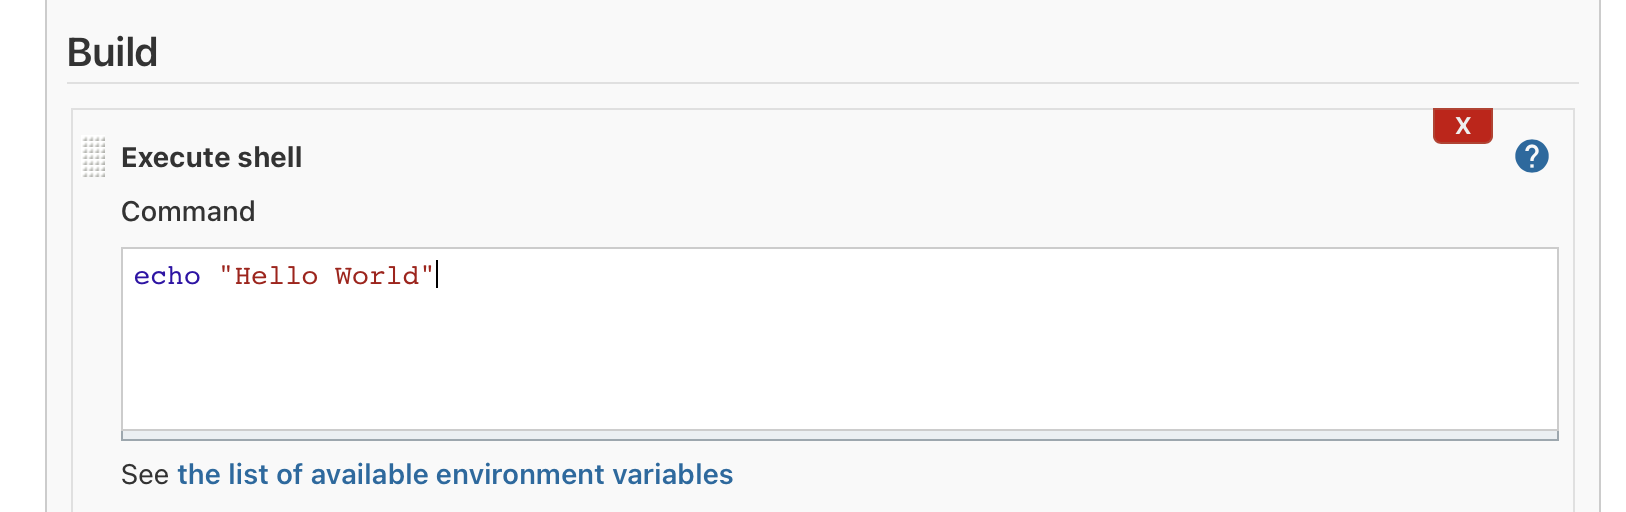
Click Save.
Now we are on the Job page, click Build Now. After a few seconds, you should see an item appear in the Build History panel on the left hand side. If all went well, you should see a blue ball icon with a #1 link next to it.

You now have two options:
- If you click on the blue ball, you will be taken to the console output. This is the screen with all the output from running your job.
- If you click on
#1, you will be taken to the build summary, which is an overview page. The overview page will get more details, if you add more plugins, and run more build steps.
Go ahead, and click on the blue ball.
You should have something similar to this:
Started by user admin
Running as SYSTEM
Building in workspace /var/jenkins_home/workspace/hello-world
[hello-world] $ /bin/sh -xe /tmp/jenkins3083551409195262471.sh
+ echo Hello World
Hello World
Finished: SUCCESS
Well done for running your first Jenkins job.
Controller and agents
Jenkins is a distributed solution. It is split in terms of the controller web application and the agents that run your build. Currently, we are executing builds on the controller container, which has limited software installed.
We have a few options available to us.
- Install the software as part of the job.
- This is time consuming for each job execution, and leaves software lying around on the controller.
- Override the controller Dockerfile, and install out own software.
- More to manage in terms of configuration, and still leaves software lying around on the controller.
- Run agents in their own docker container.
- More to manage, but scales better.
- You can have different types of agents for differing languages/frameworks.
- More secure as we can have nothing but the web application of Jenkins running on the controller.
What’s next
If you are adventurous, then the next steps would be:
- Run a Jenkins agent as another Docker container.
- Use something like
ngrokto expose your installation back to GitHub, to get GitHub Events.
If you want to go through the installation process again, delete the ~/.jenkins folder on your host machine.
rm -fr ~/.jenkins
Summary
This was a quick overview for getting Jenkins running locally.
Jenkins is a great CI/CD tool, which I’ve used for over a decade. It’s a transferable skill, agnostic of Cloud Providers, and can easily be run on premise, if you desire.