Setting up k9s skins for different Kubernetes clusters
Mar 31, 2023 · 3 min readThis post was updated on June 19th 2024, to document the latest way to do this.
This post is going to show you how to define different skins for k9s, so you can quickly see which environment you’re working on.
k9s is a terminal application that allows you to manage your Kubernetes clusters. So if you’re managing your production cluster, for example, you probably want to take extra care of what you’re doing.
Every time I jump onto a production database for nearly two decades, I have set the background to red. Danger! Over the years better tooling has come out, so I now have iTerm profiles that allow me to quickly change the colour of the background when in different environments. Recently I was doing a bit of work on a Kubernetes platform using k9s and was doing the same thing, setting my iTerm profile. Then I checked on the k9s docs and realised you can do this within k9s.
So, I’ve set up the following skins:
- A standard skin
- A testing skin
- A production skin
You can check out the official skins on GitHub. I’ve based my skins on monokai.yaml.
Once you have picked your base skin, save it to this path:
~/Library/Application\ Support/k9s/skins/[skin-name].yaml
Now we can set the base skin in the k9s configuration file. On the mac this is ~/Library/Application Support/k9s/config.yaml. Open this file in your favourite editor and set:
k9s:
  ui:
    skin: [skin-name]
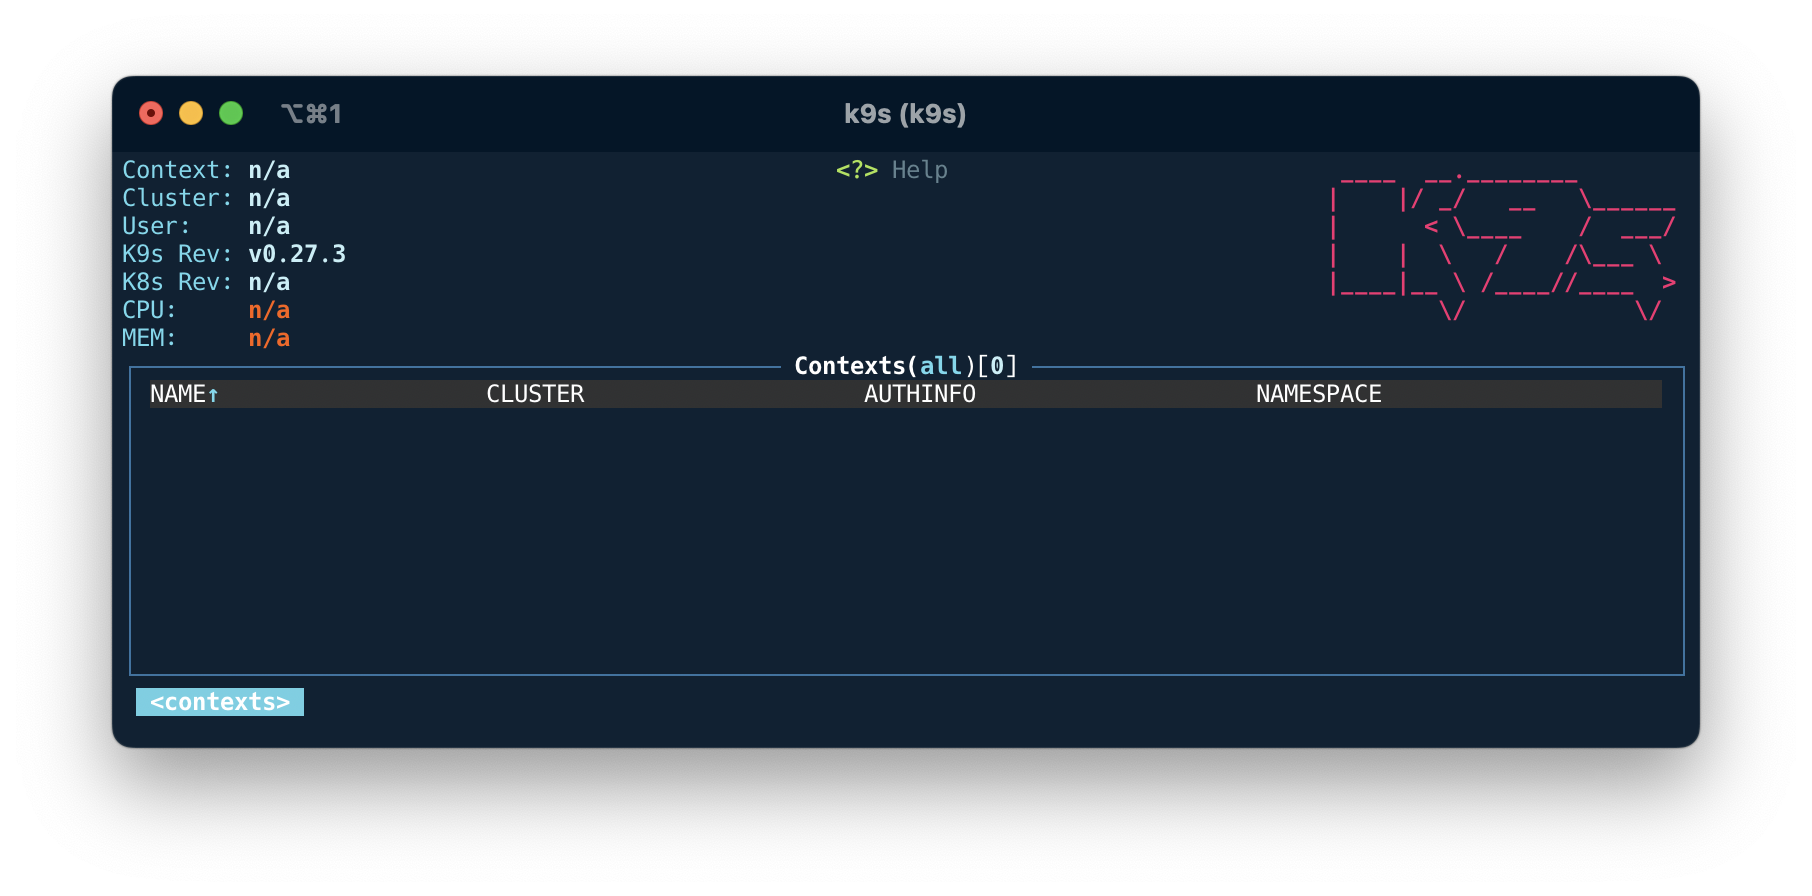
When you now fire up k9s, you should have the skin you have picked. This is what mine looks like as standard.
Now we want to move on to the good stuff and have different skins for different clusters. As mentioned above, I have production and testing skins. We set the skin per cluster/context.
For my google kubernetes cluster/contexts I open this file:
~/Library/Application\ Support/k9s/clusters/gke_my_account_europe-west1-b_production/gke_my_account_europe-west1-b_production/config.yaml
I then set:
k9s:
  skin: [skin-name]
Note: There is no ui key in this file, like there is in the default config.yaml file.
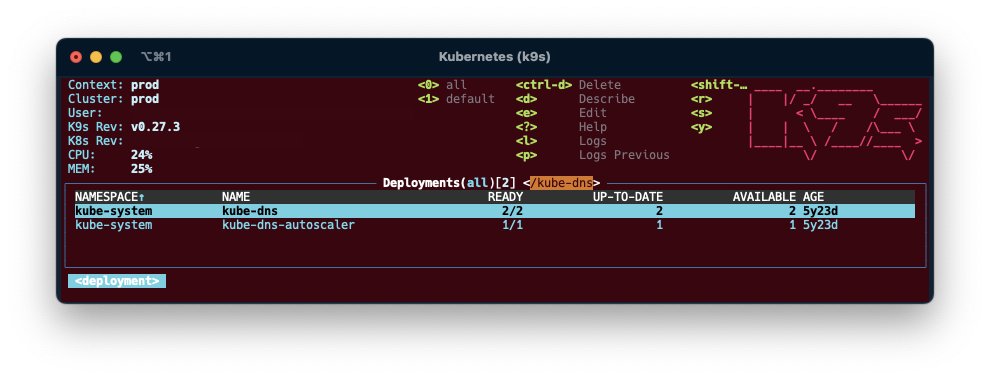
The theme for my production skin is still based on monokai.yaml skin, but I changed the background value to:
background: &background '#41000c'
So now, when I connect to the production cluster using k9s, my experience looks like this:
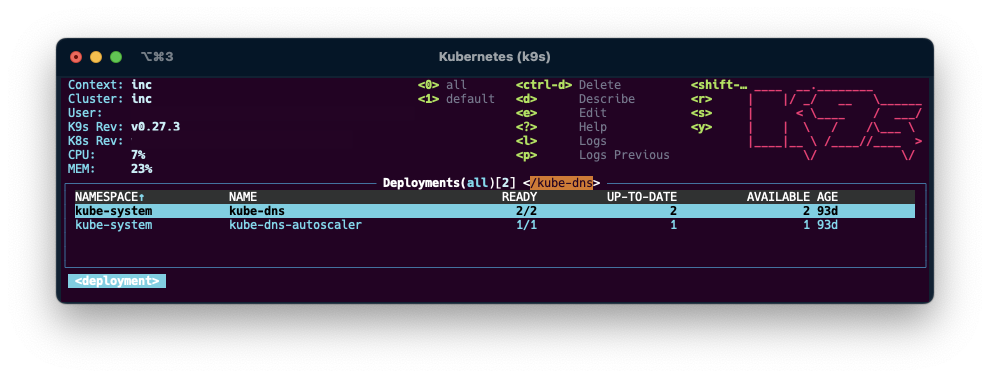
I’ve also gotten into the habit of having a specific colour for testing environments. So basically only my local development environment looks “normal”. Everything else has a colour that can imply how worried I should be about making changes. My testing skin has a dark purple background.
All of these skins are defined in my dotfiles repo and you can see I symlink the skins, so I can easily track changes in git.
Hopefully, you found this useful.